源码分析--Go append
func append (s [] T, vs ...T) [] T 的增长原理
在学 Go 语言的过程中,了解到切片,同时学到了切片增长函数 append,在使用的过程中发现一些问题,所以研究源码记录一下。
Why
在官方的 A tour of Go 中,有这样一段代码
package main

import "fmt"

func main () {
 var s [] int
 printSlice (s)

 //append works on nil slices.
 s = append (s, 0)
 printSlice (s)

 // The slice grows as needed.
 s = append (s, 1)
 printSlice (s)

 // We can add more than one element at a time.
 s = append (s, 2, 3, 4)
 printSlice (s)
}

func printSlice (s [] int) {
 fmt.Printf ("len=%d cap=%d %v\n", len (s), cap (s), s)
}

//result:
//len=0 cap=0 []
//len=1 cap=1 [0]
//len=2 cap=2 [0 1]
//len=5 cap=6 [0 1 2 3 4]
我发现一个规律:
len=5 cap=6
len=7 cap=8
len=9 cap=10
len=11 cap=12
在 0-5 容量内,len 和 cap 保持一致,在 len>5 对其进行扩容时,Go 似乎总是把 cap+2,然后我写了一段测试代码
package main

import "fmt"

func main () {
 var nums [] int
 fmt.Printf ("初始状态:\n %v, len=%d, cap=%d\n", nums, len (nums), cap (nums))
 fmt.Println ("------------------------")

 for i := 1; i <= 1000; i++ {
  toAdd := make ([] int, 1)

  nums = append (nums, toAdd...)
  fmt.Printf ("追加 %d 个元素 %v 后:\n", i, toAdd)
  fmt.Printf ("len=%d, cap=%d\n", len (nums), cap (nums))
  fmt.Println ("------------------------")
 }
}

//result:
// 初始状态:
//  [], len=0, cap=0
//------------------------
// 追加 1 个元素 [0] 后:
//len=1, cap=1
//------------------------
// 追加 2 个元素 [0] 后:
//len=2, cap=2
//------------------------
// 追加 3 个元素 [0] 后:
//len=3, cap=4
//------------------------
//...
// 追加 5 个元素 [0] 后:
//len=5, cap=8
//------------------------
//...
// 追加 9 个元素 [0] 后:
//len=9, cap=16
//------------------------
//...
// 追加 17 个元素 [0] 后:
//len=17, cap=32
//......
//......
// ------------------------
// 追加512个元素[0]后:
// len=512, cap=512
// ------------------------
// 追加513个元素[0]后:
// len=513, cap=848
发现 512 cap 以内是按照 2 的指数来增长的,和上面代码的区别在于,这里是循环调用 append 增加 1 个元素,所以我非常好奇 append 的底层原理是怎么实现的?
append
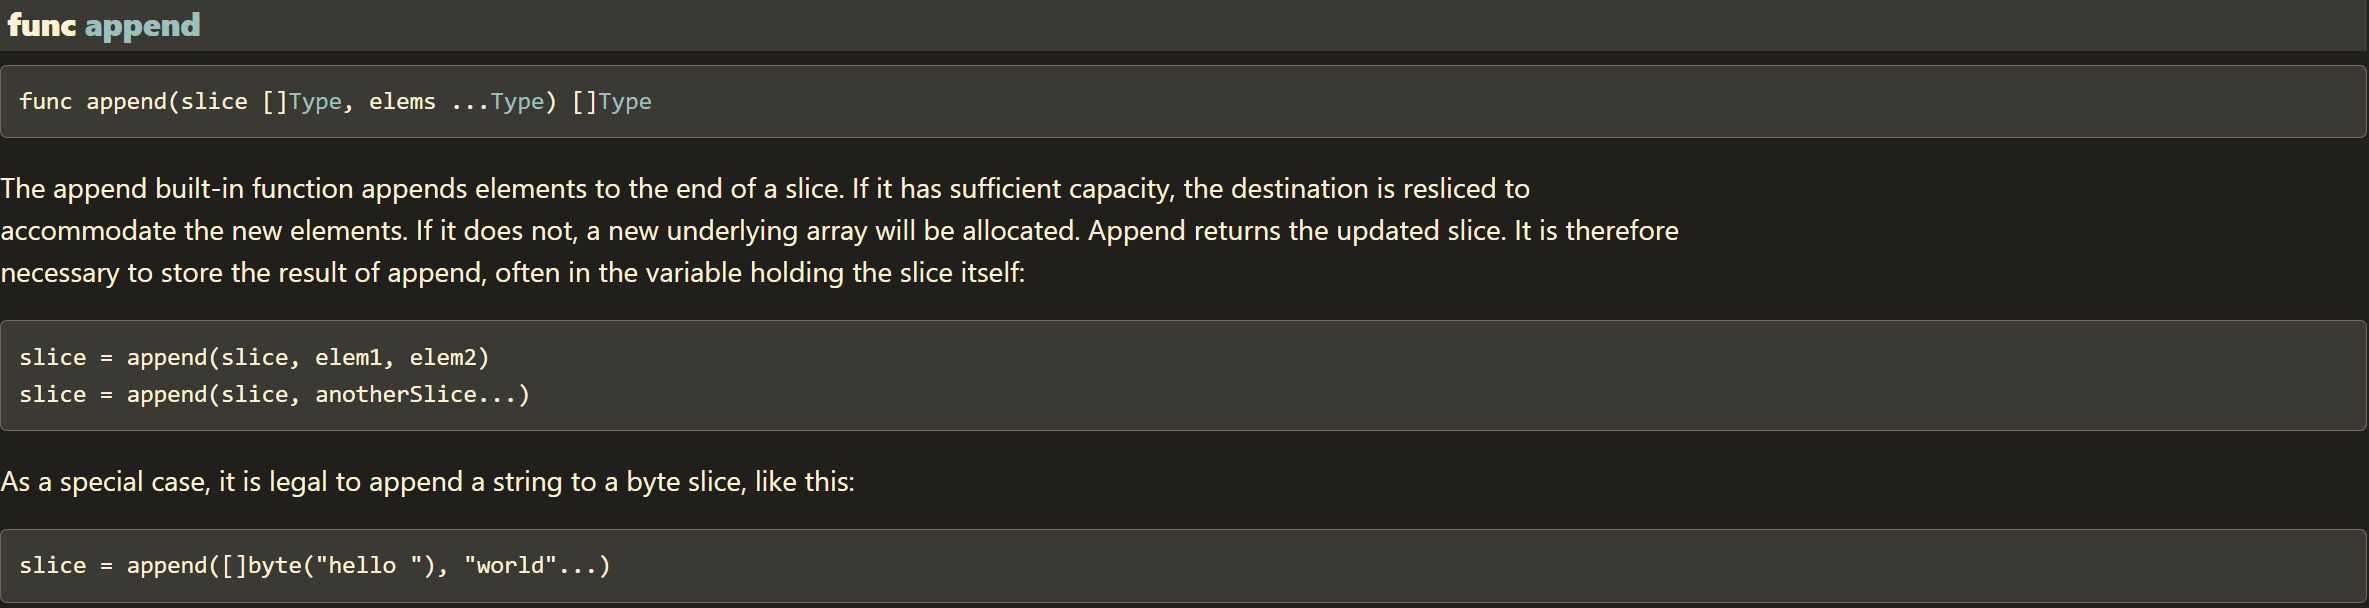
官方文档解释很简洁,当切片 cap 不够时,分配一个新数组存储,然后返回
当我点击进去时只能看到 append 的函数声明
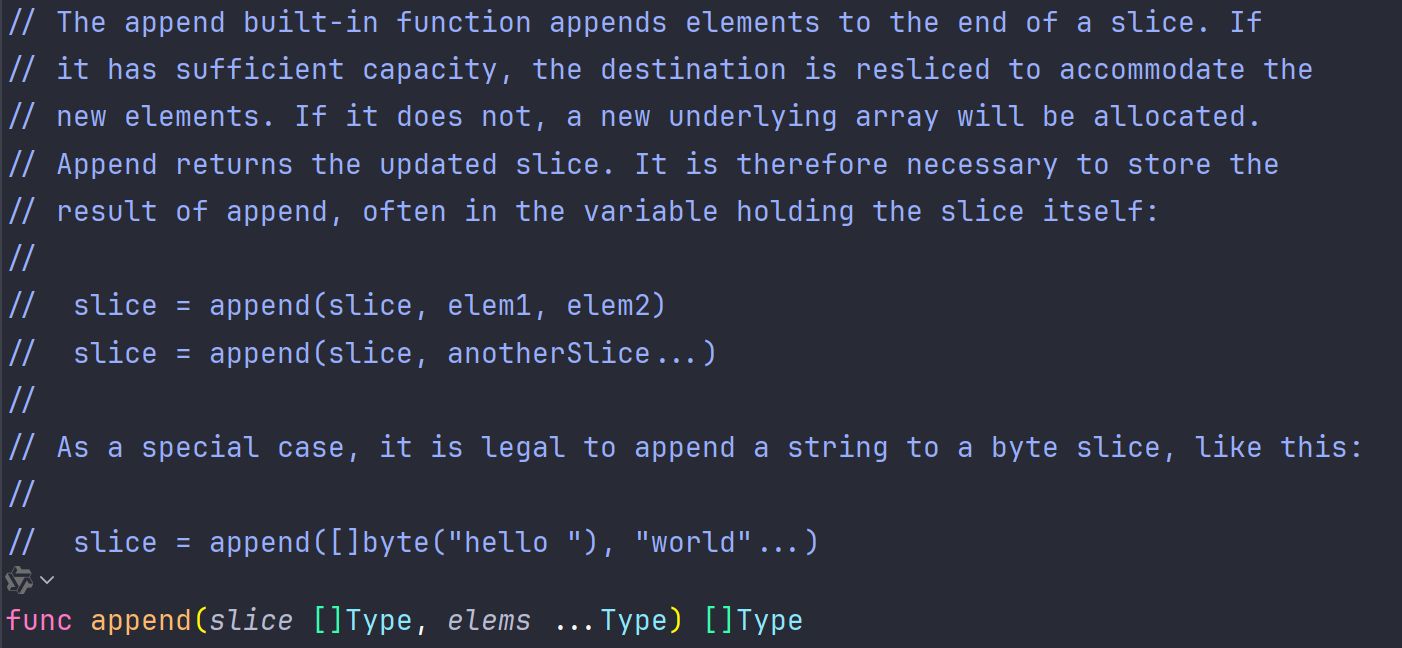
文件位于 go/src/builtin/builtin.go,这个文件只包含声明(declarations),不包含实现(implementations)。它的主要目的是:
- 为IDE提供类型信息
- 为开发者提供文档
- 为编译器提供类型检查信息
寻找源码的过程被迫中断了,去哪找呢?
我尝试问 AI 发现,类似 make, new, append… 这些函数属于 Go 的 builtin 函数,他们不需要导包就能使用,也没有具体的函数体实现,而是由编译器直接处理。
又回到了找源码的问题,编译过程怎么查看?
可以通过指定编译参数来查看编译步骤,比如指定 GOSSAFUNC=main 查看 main 函数。
接下来我对一段简单的 append 代码生成编译阶段:
package main

func main() {
 var s []int
 s = append(s, 0)
}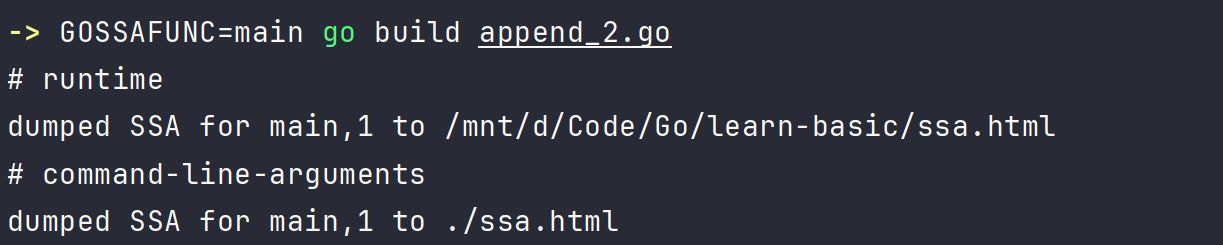
通过上面步骤会在当前目录生成一个 ssa.html 文件。使用浏览器打开内容如下:
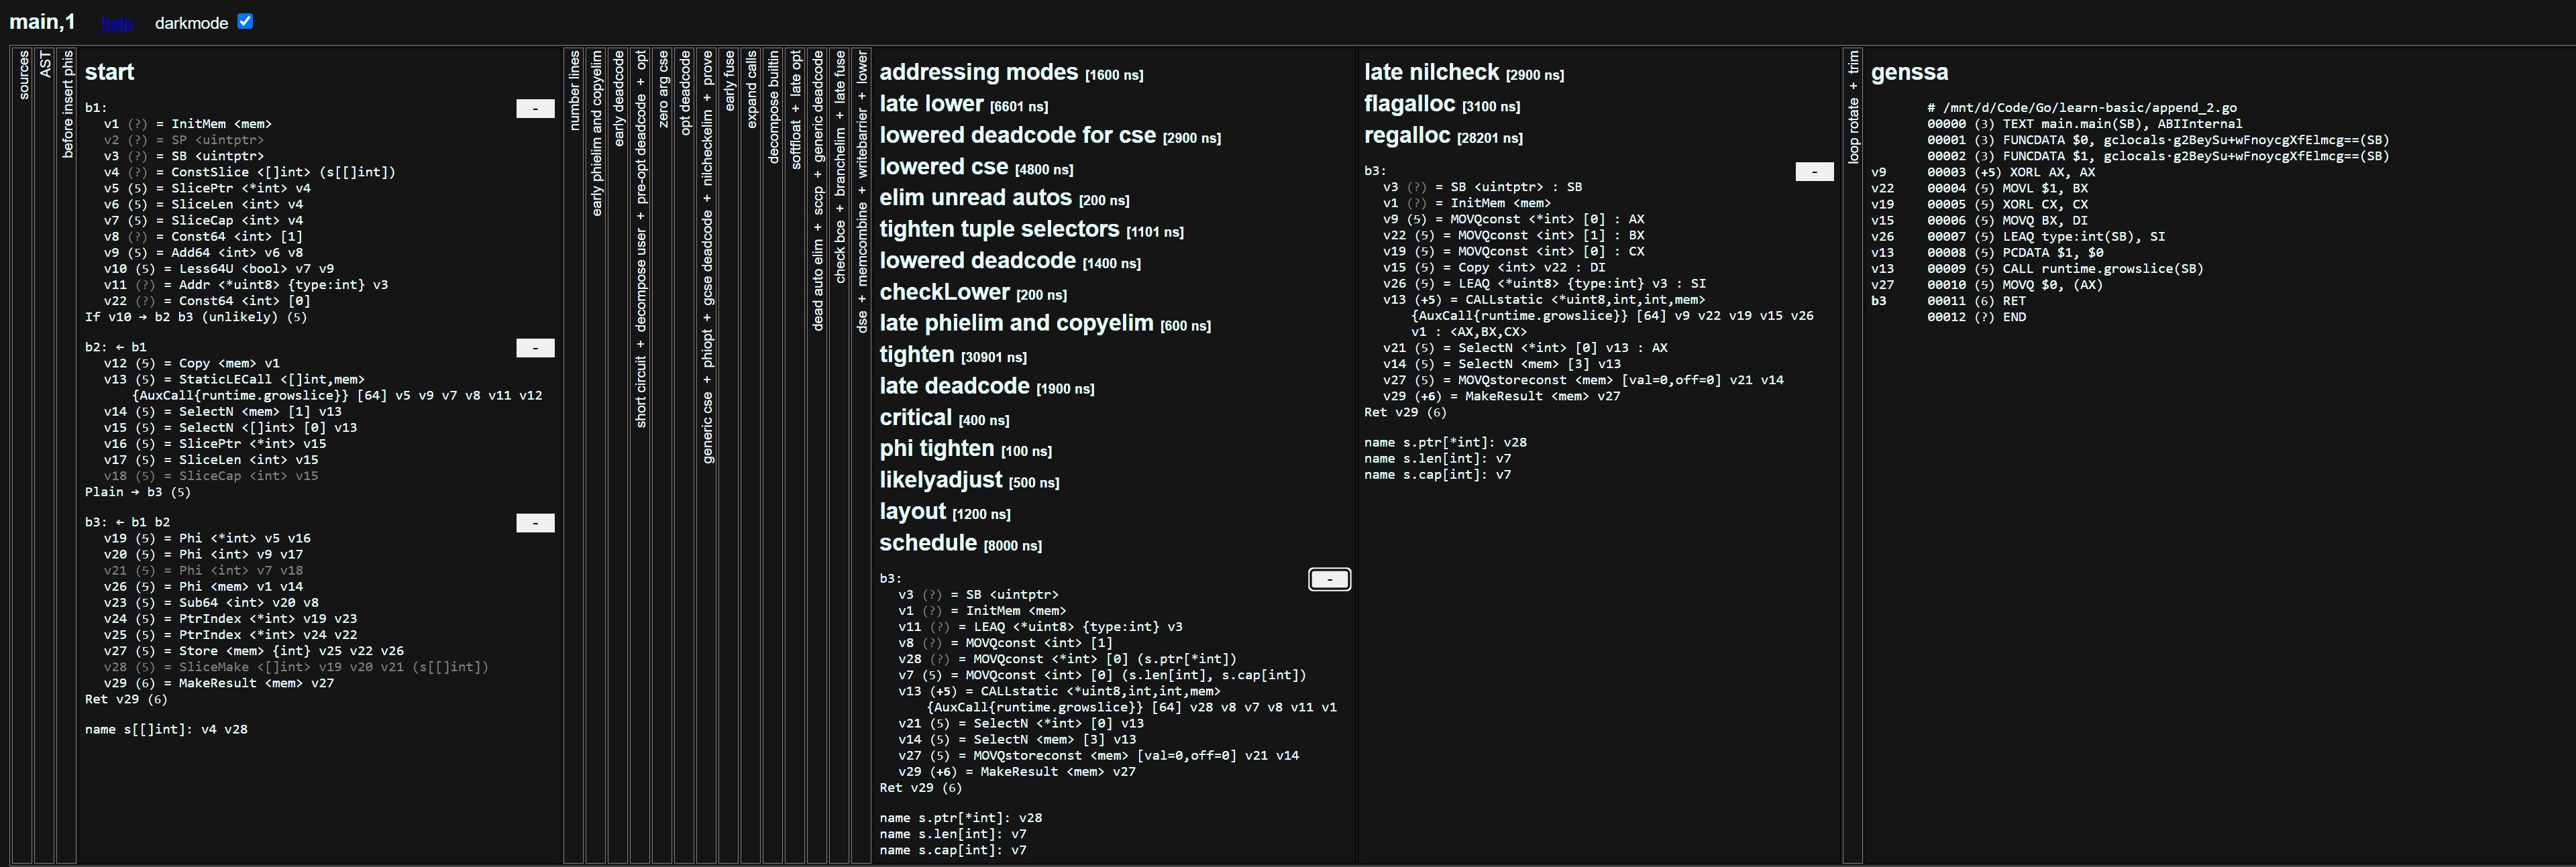
v13 (5) = StaticLECall <[]int,mem> {AuxCall{runtime.growslice}} [64] v5 v9 v7 v8 v11 v12重点看这行代码,append 实际上对应到了 runtime.growslice。
growslice & nextslicecap
接下来到官方源码目录下找到 runtime.growslice,位于 src/runtime/slice.go 文件中,函数体如下:
// growslice allocates new backing store for a slice.
//
// arguments:
//
// oldPtr = pointer to the slice's backing array
// newLen = new length (= oldLen + num)
// oldCap = original slice's capacity.
//    num = number of elements being added
//     et = element type
//
// return values:
//
// newPtr = pointer to the new backing store
// newLen = same value as the argument
// newCap = capacity of the new backing store
//
// ......
func growslice(oldPtr unsafe.Pointer, newLen, oldCap, num int, et *_type)
growslice 前面是一堆检查,后面是针对内存的优化处理,暂且略过,主要针对 nextslicecap 的代码进行研究
func growslice(oldPtr unsafe.Pointer, newLen, oldCap, num int, et *_type)
 ... // 检查
 newcap := nextslicecap(newLen, oldCap)
 ... // 分配内存

func nextslicecap(newLen, oldCap int) int {
 newcap := oldCap
 doublecap := newcap + newcap
 if newLen > doublecap {
  return newLen
 }

 const threshold = 256
 if oldCap < threshold {
  return doublecap
 }
 for {
  // Transition from growing 2x for small slices
  // to growing 1.25x for large slices. This formula
  // gives a smooth-ish transition between the two.
  newcap += (newcap + 3*threshold) >> 2

  // We need to check `newcap >= newLen` and whether `newcap` overflowed.
  // newLen is guaranteed to be larger than zero, hence
  // when newcap overflows then `uint(newcap) > uint(newLen)`.
  // This allows to check for both with the same comparison.
  if uint(newcap) >= uint(newLen) {
   break
  }
 }

 // Set newcap to the requested cap when
 // the newcap calculation overflowed.
 if newcap <= 0 {
  return newLen
 }
 return newcap
}
解释:
- 当 newLen(oldCap+num) > doublecap,直接返回 newLen
- 否则,当 oldCap < 256 时,返回 doublecap,也就是两倍的 oldCap
- 当 oldCap 超过 256 时,增长倍数从 2x -> 1.25x
- 最后是做溢出检查
参考上面的代码,每次扩容的数量应该是:
- 一次性添加多个:1 2 3 4 5 6 7 8 9 10…
- 循环添加一个:1 2 4 8 16 32 64 128 256 512 832…
但是实际上却是:
- 一次性添加多个:1 2 3 4 6 8 10…
- 循环添加一个:1 2 4 8 16 32 64 128 256 512 848…
why?
roundupsize
从 nextslicecap 接着往下走,发现一个函数 roundupsize,如下所示
func growslice(oldPtr unsafe.Pointer, newLen, oldCap, num int, et *_type) slice {
 ...
 case et.Size_ == goarch.PtrSize:
  lenmem = uintptr(oldLen) * goarch.PtrSize
  newlenmem = uintptr(newLen) * goarch.PtrSize
  capmem = roundupsize(uintptr(newcap)*goarch.PtrSize, noscan)
  overflow = uintptr(newcap) > maxAlloc/goarch.PtrSize
  newcap = int(capmem / goarch.PtrSize)
 case isPowerOfTwo(et.Size_):
  var shift uintptr
  if goarch.PtrSize == 8 {
   // Mask shift for better code generation.
   shift = uintptr(sys.TrailingZeros64(uint64(et.Size_))) & 63
  } else {
   shift = uintptr(sys.TrailingZeros32(uint32(et.Size_))) & 31
  }
  lenmem = uintptr(oldLen) << shift
  newlenmem = uintptr(newLen) << shift
  capmem = roundupsize(uintptr(newcap)<<shift, noscan)
  overflow = uintptr(newcap) > (maxAlloc >> shift)
  newcap = int(capmem >> shift)
  capmem = uintptr(newcap) << shift
 ...
}

func roundupsize(size uintptr, noscan bool) (reqSize uintptr) {
 reqSize = size
 if reqSize <= maxSmallSize-mallocHeaderSize {
  // Small object.
  if !noscan && reqSize > minSizeForMallocHeader { // !noscan && !heapBitsInSpan(reqSize)
   reqSize += mallocHeaderSize
  }
  // (reqSize - size) is either mallocHeaderSize or 0. We need to subtract mallocHeaderSize
  // from the result if we have one, since mallocgc will add it back in.
  if reqSize <= smallSizeMax-8 {
   return uintptr(class_to_size[size_to_class8[divRoundUp(reqSize, smallSizeDiv)]]) - (reqSize - size)
  }
  return uintptr(class_to_size[size_to_class128[divRoundUp(reqSize-smallSizeMax, largeSizeDiv)]]) - (reqSize - size)
 }
 // Large object. Align reqSize up to the next page. Check for overflow.
 reqSize += pageSize - 1
 if reqSize < size {
  return size
 }
 return reqSize &^ (pageSize - 1)
}
growslice 里面通过 roundupsize 重新优化算出 newcap 所占字节数,再重新将字节数转成 newcap 的大小
重点就是下面这串代码,能够把 5->6 832->848,为什么这么做呢?
class_to_size[size_to_class8[divRoundUp(reqSize, smallSizeDiv)]]这样做的原因主要有下面几点:
a) 内存规整:
// 不规整的分配
make([]byte, 5)  -> 5字节
make([]byte, 7)  -> 7字节
// 会导致大量不同大小的内存块,难以复用

// 规整后的分配
make([]byte, 5)  -> 8字节
make([]byte, 7)  -> 8字节
// 相同大小便于复用
b) 内存复用:
// 示例场景
s1 := make([]byte, 5)  // 分配8字节
s2 := make([]byte, 7)  // 分配8字节
// s1 释放后的内存可直接给 s2 使用
c) 缓存友好:
// 固定大小的内存块有利于内存缓存
// 例如:所有8字节的块可以放在一起管理
span1 := []*8bytes    // 8字节的块池
span2 := []*16bytes   // 16字节的块池
小结
本次折腾结束,Go 对内存做了很多处理,能够让我们不手动管理内存也能得到极高的效率,这点确实要比 C 好很多。
疑问:
goarch.PtrSize 代表什么意思?